

All of that material was stacked and stickered (separated by sticks for air space) by André and me. Then it was covered for the winter. This picture only shows a portion of the material and none of the 10x10"s.

In the spring I began to create the "A" beam supports for the two ceilings. First I collected the 5x10" pieces that I needed, and finished them by planing and sanding to become the "A" beams for the roof supports for the two wings of the house. Many of the 10x10"s for the house posts are still covered in the stickered piles below.

The "A" beams were 5x10" white pine of two different lengths, depending upon whether they were to be the beams against the ceiling, or the cross member of the "A". Below I am first planing all of the necessary pieces.

Since Nancy had not yet retired, I was alone doing these jobs, so to document the activity I had to set up the camera, push the button and hope that I ran back to the center of the picture frame in time!
And now I am sanding the beams before finishing them with an ultraviolet resistant paint.

Once the beams had been planed and sanded, I began to turn them into "A" beams. Lifting all of the individual pieces was a bit of a challenge for an old man! The first beam was carefully measured on the ground and left there as a template for the next one.

... then the next ones were built on top of the earlier one to be hopefully all the same size and shape.

The apex of each "A" frame had a special connector piece marrying the two beams, which I made at our Science Technology centre at Carleton University, for ensuring that the two top pieces of the "A" could never separate.

Then the crossmember of the "A" was bolted to the two top pieces by a heavy steel plate on both sides of the connection. These plates were to insure that once the beams were in place, there would be no movement in the "A" frame under the weight of the roof.

Thus I continued to pile up the beams during their fabrication until the pile became too high to work on. Then I would start a new pile and continued building until I had generated all of the "A" frames that I needed for the two ceilings (14 in total).

The 1" boards I put in several piles to dry out. I kept them covered on wet days till the end of the first summer.

At that time, my sister Connie and husband Dennis came to visit, and they helped separate the boards into new piles for the flooring, walls and cabinets. It was a great help!

We then loaded the different kinds boards destined for different functions/locations in the house onto different palates to be taken to the finishing mill. To do so, the palates were all loaded with a fork lift onto a large flat-bed truck from a local hardware store and off they went When they were ready to come home about a month later, we picked them up with the same truck and home they came, where my workmen and I unloaded them.
Many of them were tongue-and-groove for floor boards (in the picture below), others were straight edged for cabinets and other functions (e.g., window sills), and lastly there were ship-lap boards for several interior walls. The tongue and groove boards were of numerous kinds for flooring in different locations.

The 1" inch boards varied in size from 4 to 10" widths. Below is a 10" white ash board bracketed by two black cherries.

The "A" frames were used in the bedroom wing on the second floor.

And now looking the other direction, past 2 closets on the left and the master bedroom and the guest bathroom on the right.

The other location for the "A" beams was the third floor ceiling -- over our version of the "great room" (the study/music room/grandchildren's playroom). Note the bookshelves are made with the black cherry boards and the floor is tongue and groove of mixed wood types, including several dark ones that are black cherry like the shelves.

The top of the stairs to the third floor is in the foreground of the last picture. Looking down the stairs to the first floor from the top of the stairs is always a gas, which is why I designed it that way. To get the full effect, try to get the complete picture on the screen at the same time. Note that the flooring of the second floor, which is immediately below this top flight, is 100% white ash boards. Fortunately mother nature provided me with enough blow downs to finish the ash on that floor. As you can see further down to the first floor, its composition is all porcelain tile as we have geothermal heating/cooling immediate underneath it.

The stairs from the second to third floors and ash flooring boards on the second floor are better visualized in the next picture.

The stairs from the second to first floor can be seen below. Again note the ash floor from this view, but also the 10x10" posts that support the third floor (along with the ICF walls, which I will describe in another posting). The kitchen is at the far right and the pantry at the far left.
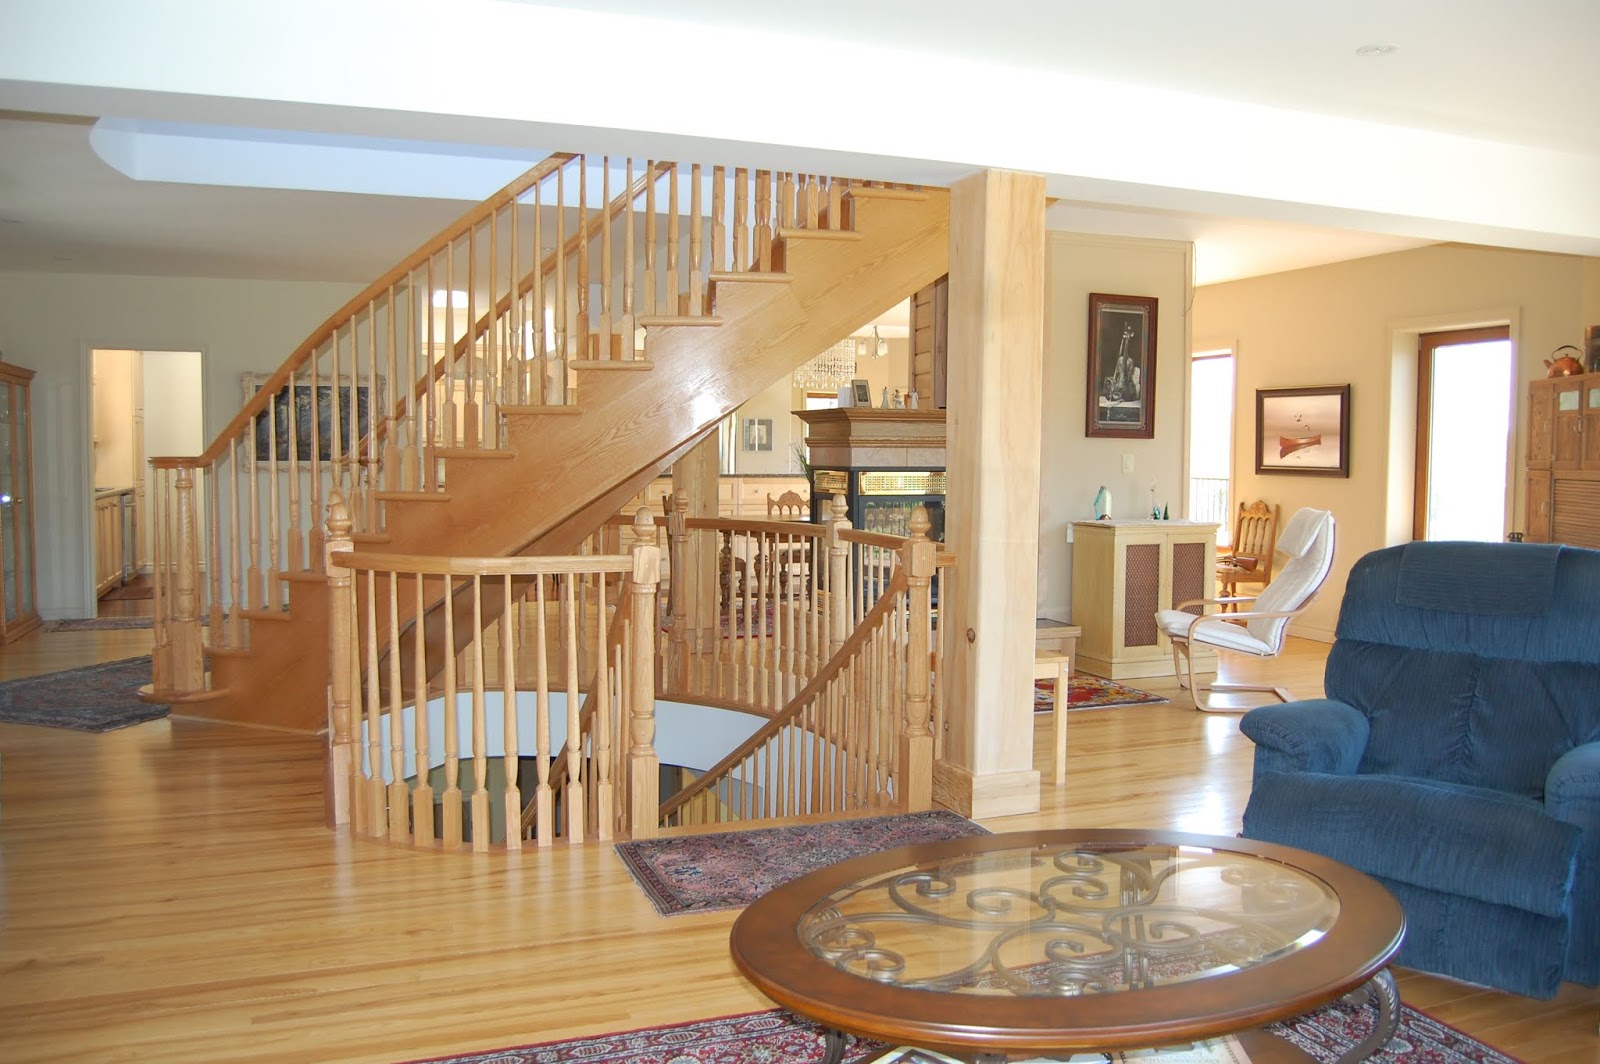
The picture below shows the kitchen and pantry in relation to the stairs and dining room, which are part of our open air concept. Again note the white pine posts.

Next are a couple of pictures of the kitchen and cupboards, which were made using the spalted maple from the shade tree next to our cabin. Our cabinet maker was able to make all of the cupboards in our kitchen, bathroom, pantry, kitchenette on the first floor, computer area, and sewing room cupboards to Nancy's design using wood from that tree - a continual reminder at Due North of the cabin tree. This picture principally shows the kitchen island between the dining room, kitchen and turret.

And this one shows the spalted cupboards and area between the island and the stove.

Here is a view of the pantry with its spalted maple.

The second floor elevator shaft walls are covered with ship-lap beech, and is supported on the near corner by a 10x10" white pine post. Ship-lap beech boards were also used on both floors to cover other internal walls.

Between the beech elevator shaft walls and the outside wall is the computer work area and more spalted maple.

Immediately adjacent to the dining room area is the beech covered shaft that contains the flue from the down stairs fireplace and other things needing to travel from floor 1 to floor 2, as well as the flue from the gas fireplace that is poking out just behind the shaft.

The straight edge 10" ash boards were used for window sills on all 3 floors. These were a challenge to make and design, particularly for the wider windows, like the 11-foot window in the living room

Going down stairs to the first floor, the Murphy bed in Nancy's sewing room is also made with the spalted maple, as well as the sewing cupboard and the downstairs bathroom cupboards.

Nancy'/s sewing room cupboards.

And downstairs bathroom, usually for guests.

As the spalting is not easy to see at a distance in any of these pictures, I'll show what it looks like up close and personal. The boards look like someone drew over them with a thin black magic marker.

The elevator walls in the first floor are ship-lapped with white pine (I ran out of beech). Note also the 10x10" post supporting the elevator shaft is on the same corner of the elevator shaft as upstairs. All posts on the first floor have an identical post located in the same spot on the second floor.

A final picture inside the house shows a pine post and the fire place I built using the polished stones from brother Dave's property on Lake Superior, a mantel I made from the one large black cherry tree from the cabin property, and the hearth made of beech.

And lastly, when we go outside, we find most of the 10x10" posts, which are supporting the roofs between the first and second floors and are distributed on three sides of the house. The thing about white pine posts like these is their amazing strength. Each post has the vertical strength of 4.8 million pounds or 240 tons!!!. As a result, I don't think any aspect of their support will be failing any time soon.

Looks great!
ReplyDeleteIt's just an awesome house, Dan. Congratulations on your foresight, design ideas, building skill and persistence. It's such a great accomplishment, you should probably live forever to get the deserved return on your investment. How did you learn the theory and skills that allowed you to do this?
ReplyDeletePaul
I love the spalted maple - I had no idea it was the product of so much cabinetry! I loved that old maple...
ReplyDelete